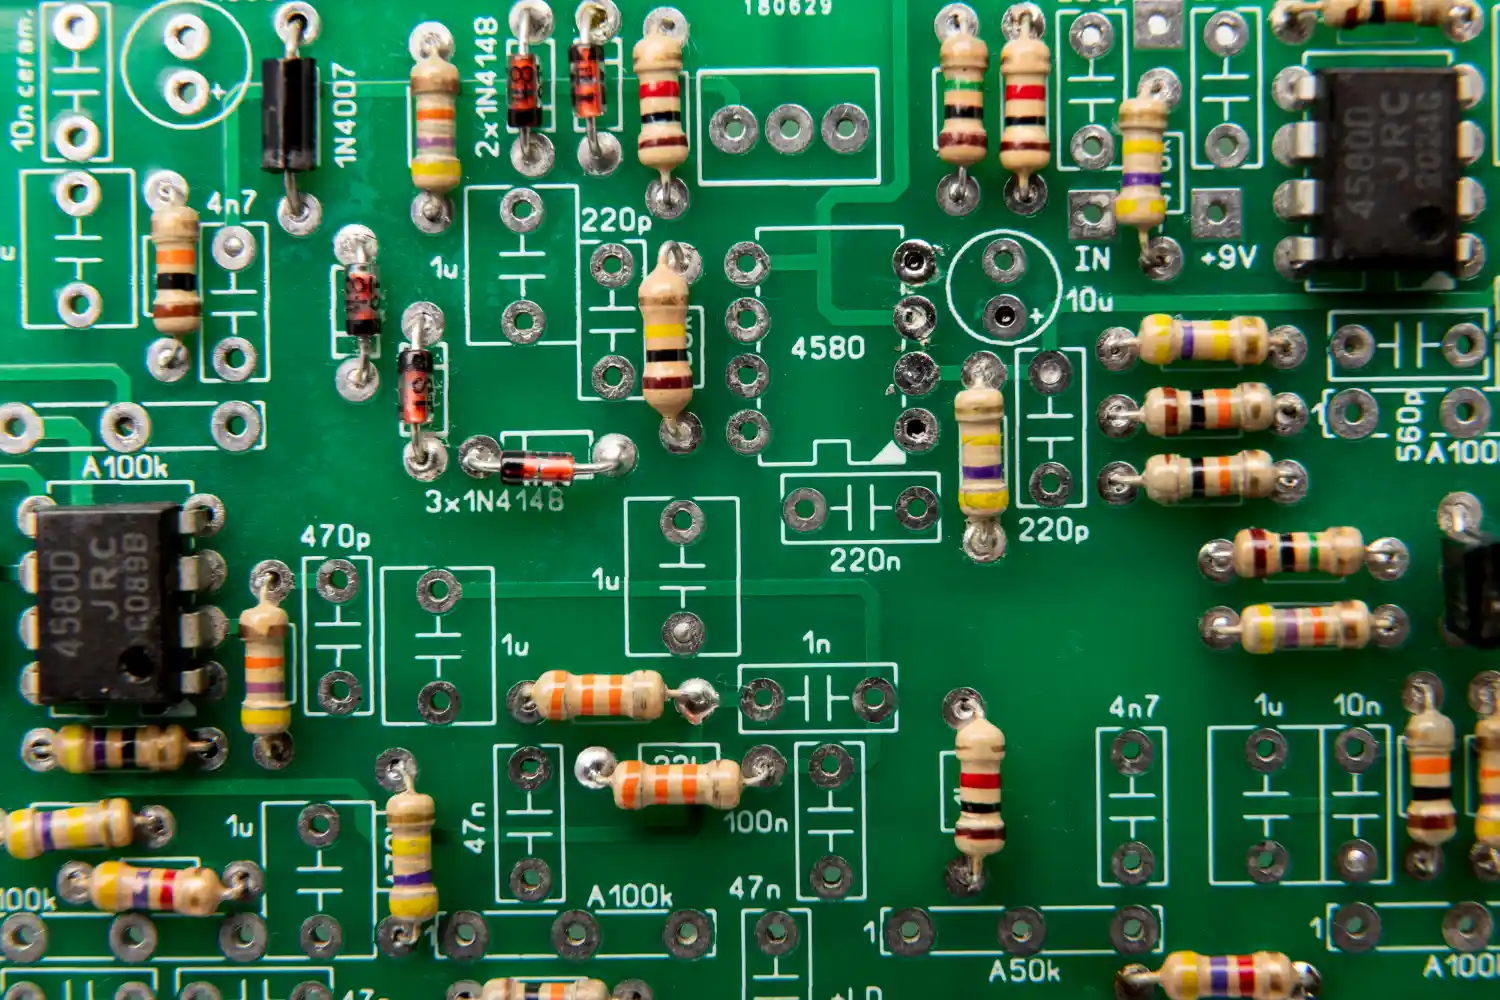
A breadboard lets you build and test circuits without soldering a single joint. It is the fastest way to try out ideas, check your wiring, and understand how components work together before you commit to anything permanent.
If you are just getting into DIY electronics projects or electronics projects for beginners, this is where it starts.
What a Breadboard Is and How It Works
A breadboard is a rectangular plastic block filled with rows of tiny metal clips. You push component leads and wire ends into the holes, and the clips hold everything in place and create electrical connections.
The board is divided into sections. The two long rails running down each side are power rails, used for your positive and negative supply lines. The main grid in the center is split down the middle, with each row of five holes connected horizontally on each side of the gap.
Understanding this layout is the key to using the board correctly. Once you can picture how current flows across a row and down a rail, placing components starts to feel intuitive rather than confusing.
How to Place Components and Build Your First Circuit
Start by identifying your power source and deciding which rail is positive and which is negative. Connect your power supply to the rails first, before placing any components.
Place your components across the center gap so each lead sits in its own horizontal row on opposite sides. This keeps the leads electrically separate, which is what you want for most components like resistors and capacitors.
Use short jumper wires to connect rows to each other or to the power rails. Colored wires help here: red for positive, black for negative, and any other color for signal connections. This habit will save you from a lot of troubleshooting later.
Once your circuit is wired up, connect your power source and check for the expected result. If something is off, a breadboard makes it easy to pull out a component, swap a wire, or restructure the layout without any damage. That flexibility is exactly what makes it the right tool for prototyping embedded systems projects and testing electronic circuit design ideas before moving to a final build.
Breadboard work pairs naturally with learning how to solder electronics. Once your circuit is tested and working, you can recreate it on a proper board with permanent connections, knowing the design actually functions the way you intended.
These services like writemyessay.com help simplify the writing process by handling research, organization, and composition in a professional manner.