Soldering is the skill that turns a temporary breadboard prototype into something permanent and reliable. Once you can solder well, you can build almost anything in the world of DIY electronics projects.
This guide covers the tools you need, the technique that produces clean joints, and the most common mistakes to avoid as a beginner.
What You Need Before You Start
The right tools make soldering much easier and much safer. Here is what to gather before your first session.
A soldering iron rated between 25 and 60 watts is enough for most electronics projects for beginners. Pair it with solder rated at 60/40 tin-lead or lead-free if you prefer, in a thin gauge like 0.8mm. You will also need a soldering iron stand, a damp sponge or brass wire cleaner to wipe the tip, and a helping hands tool or PCB holder to keep your work steady.
Flux-core solder is standard for electronics work. The flux inside the solder wire cleans the metal surfaces during the joint, which helps the solder flow and bond properly. You do not need separate flux for basic electronic circuit design work, but it is useful to have when reworking difficult joints.
Good ventilation matters. Solder fumes are irritating even if you are using lead-free solder, so work near an open window or use a fume extractor. Eye protection is also a smart habit any time you are heating metal.
How to Make a Clean Solder Joint
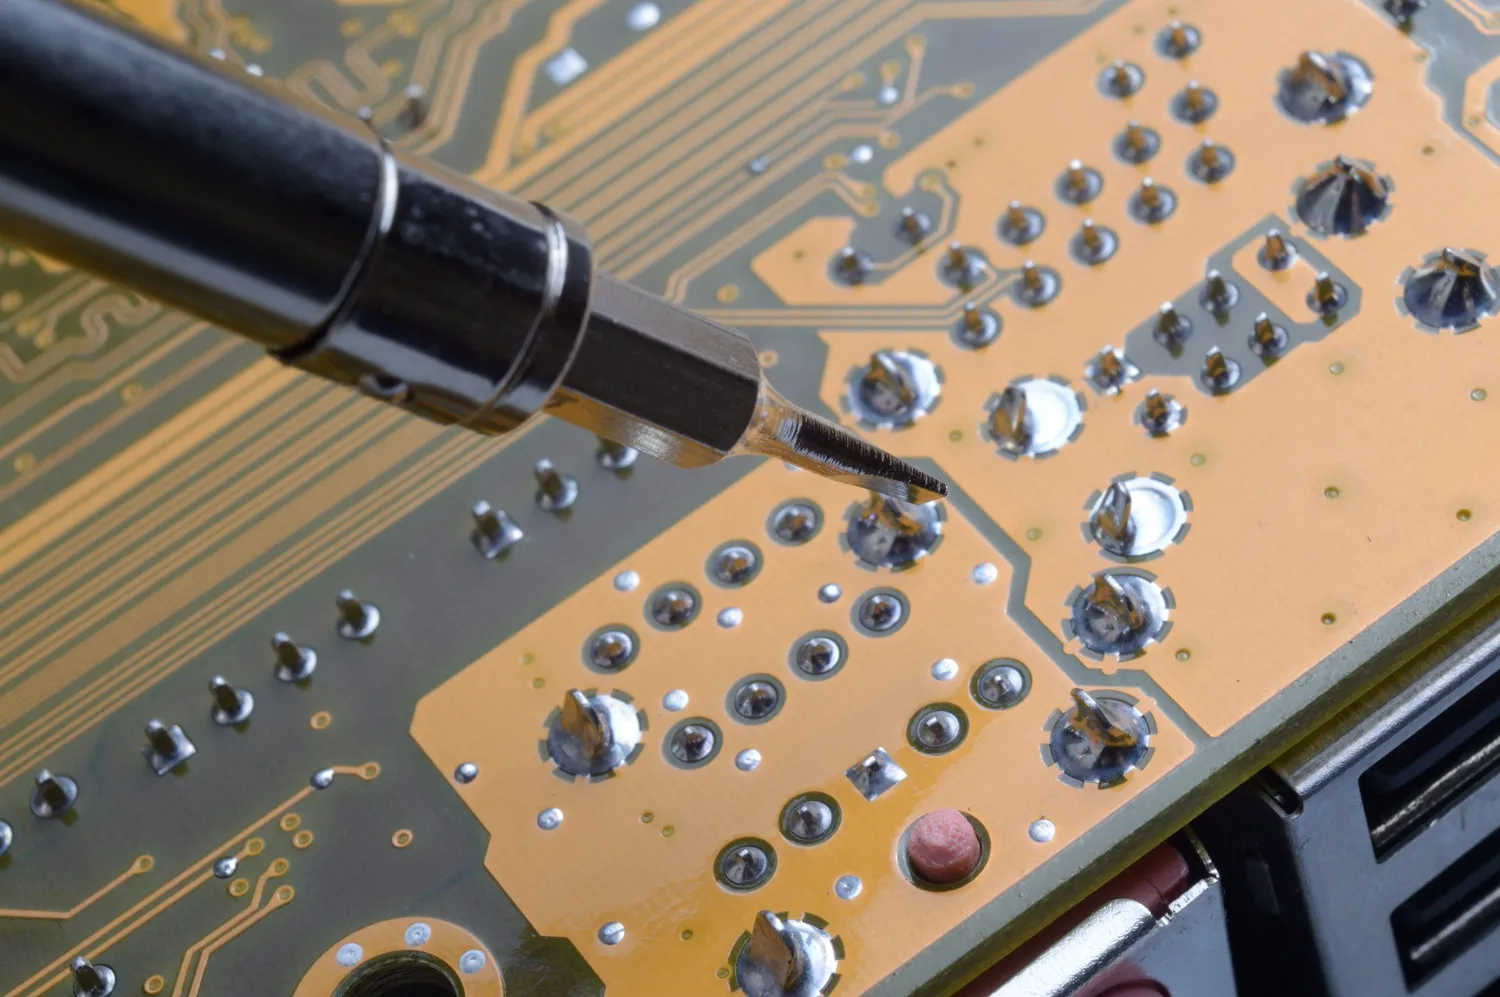
Heat the Joint, Not the Solder
The most important rule in soldering is to heat the component lead and the pad together, then bring the solder to the joint rather than to the iron. Touch the iron tip to where the lead meets the pad, hold it there for one to two seconds, then feed solder into the joint from the opposite side. The solder should flow around the lead and pad to form a smooth, shiny cone shape.
Recognize a Good Joint
A properly made joint looks shiny and smooth. It fills the pad and covers the base of the lead without spilling onto nearby pads. A bad joint looks dull, grey, or blobby. These are called cold joints, and they cause unreliable connections. If you see one, reheat it gently and add a small amount of fresh solder to fix it.
Work Through Your Board Systematically
Solder components in order from shortest to tallest. Resistors and diodes first, then capacitors, then sockets, then taller components like electrolytic capacitors and connectors. This gives you a flat surface to work against as you build up the board, which makes soldering much easier.
Practice on a scrap piece of board or an inexpensive practice kit before working on PIC microcontroller projects or any how to use a breadboard prototype you want to make permanent. The technique becomes natural after a dozen joints, and your confidence builds quickly once you see what a clean joint actually looks like.